
The Light Saber 1.0
to Sacha van den Haak & Felix van Dam’s windowTogether with Felix we came up with a couple of ideas for experiments that we would like to put into practice. One of them was the idea of drawing with light. We wondered if the line would be sharper when holding the light closer to the silkscreen, and turn into a grey hue if we would hold the lamp further away from the screen. There was a lot to try out.
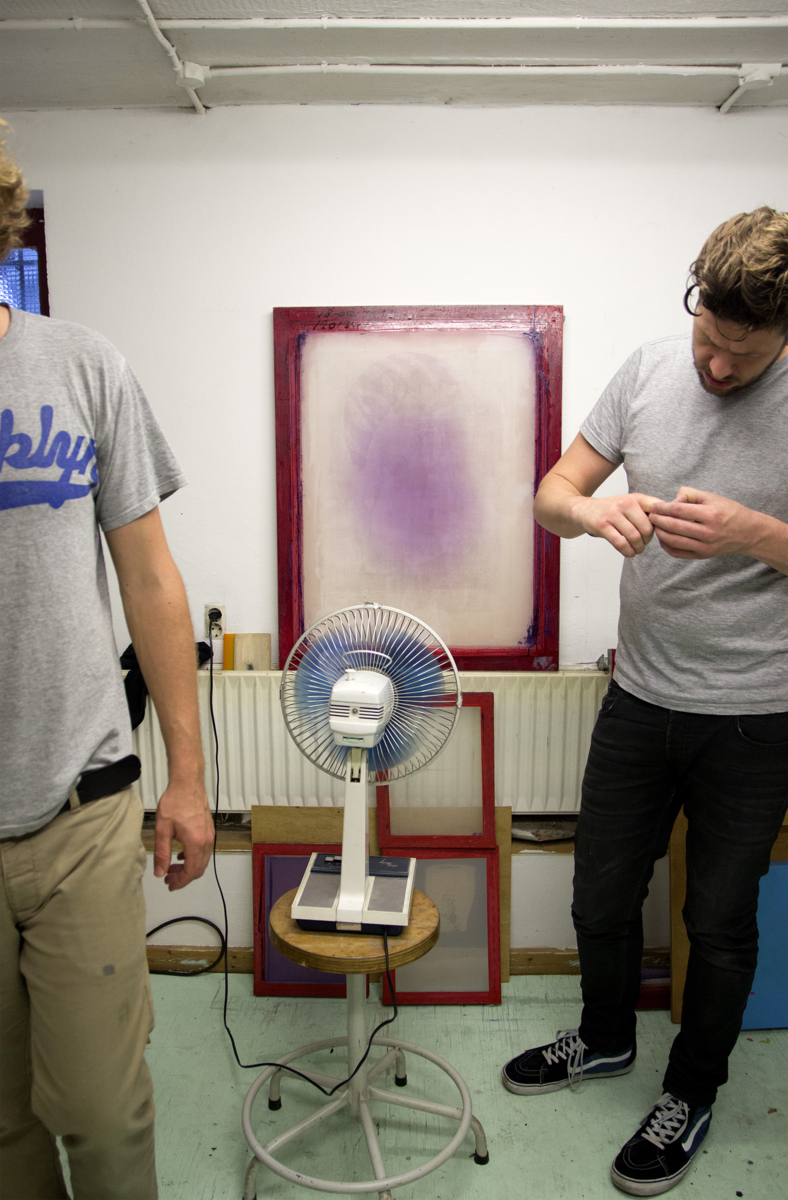
Felix had a lighting table he made himself using facial browning UV lights, so we used parts of it for our first test. We took two of the small TL’s and screwed these onto a piece of wood. We covered the light with cardboard, leaving a small opening to let through the light that we would draw with.
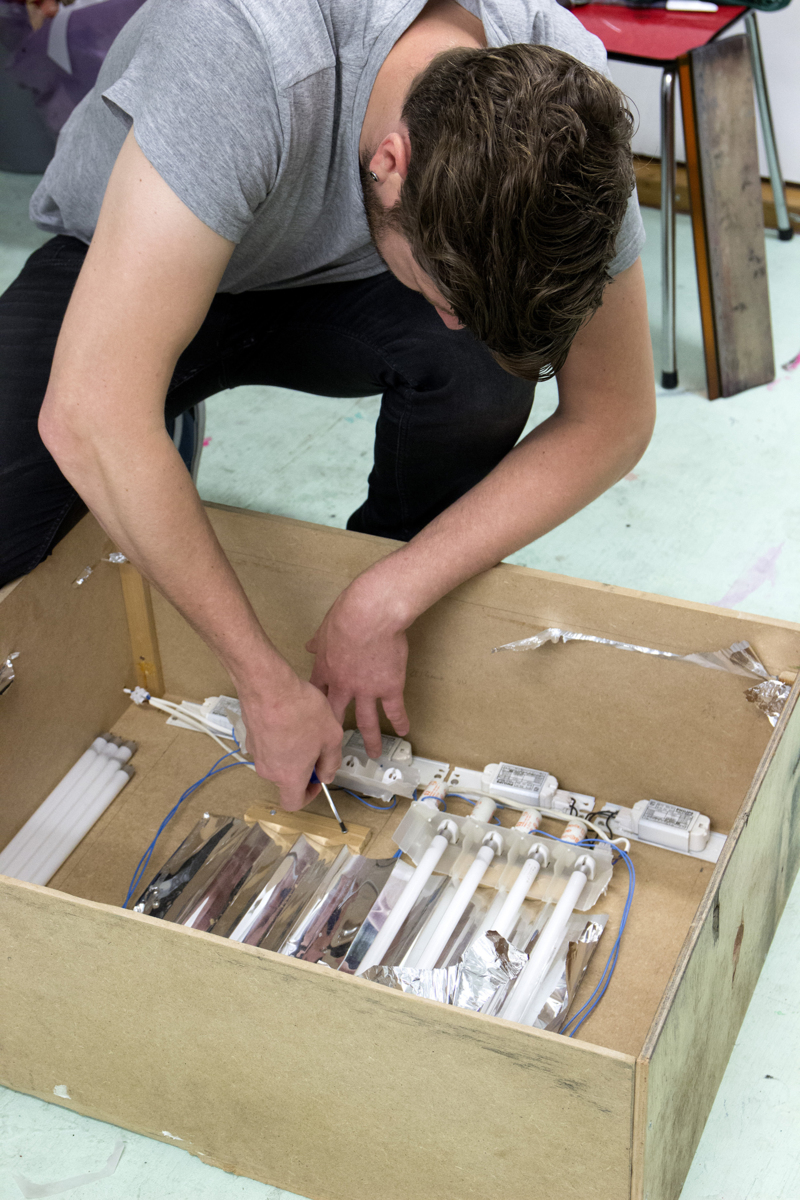


Building the light saber
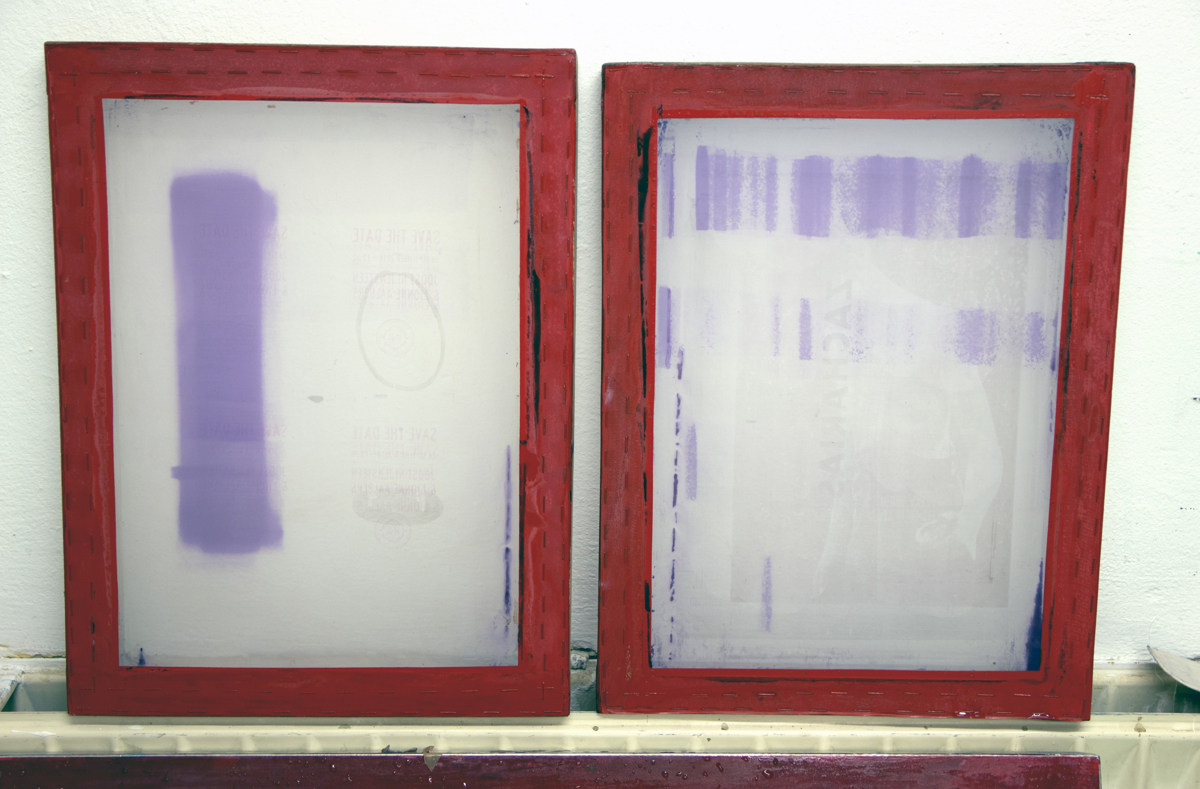
The first step was to make a simple line. Just to see if this idea had any potential at all. Surprisingly this worked really well! The line was very visible in the middle part, but what piqued our interest most were the ‘soft’ edges. Here the light only touched the light sensitive coating lightly. This would mean that the light could maybe be manipulated as to create different lines and shadows.
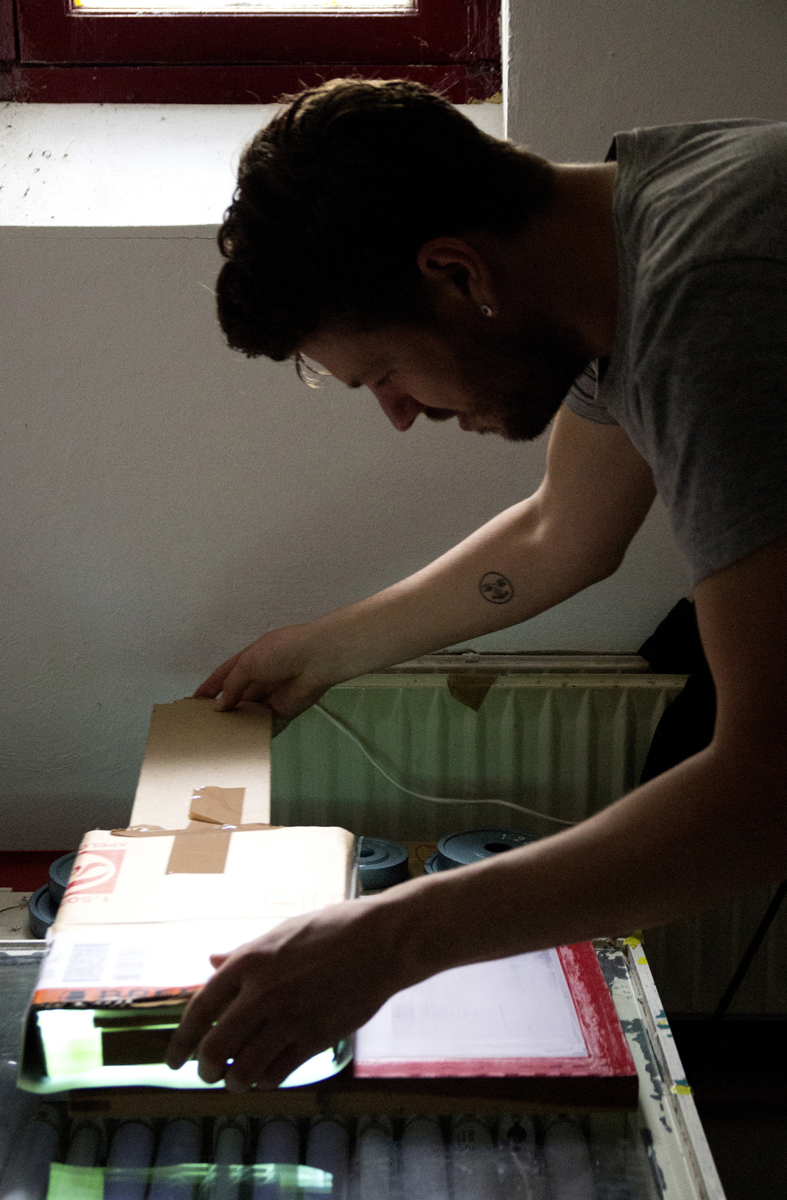
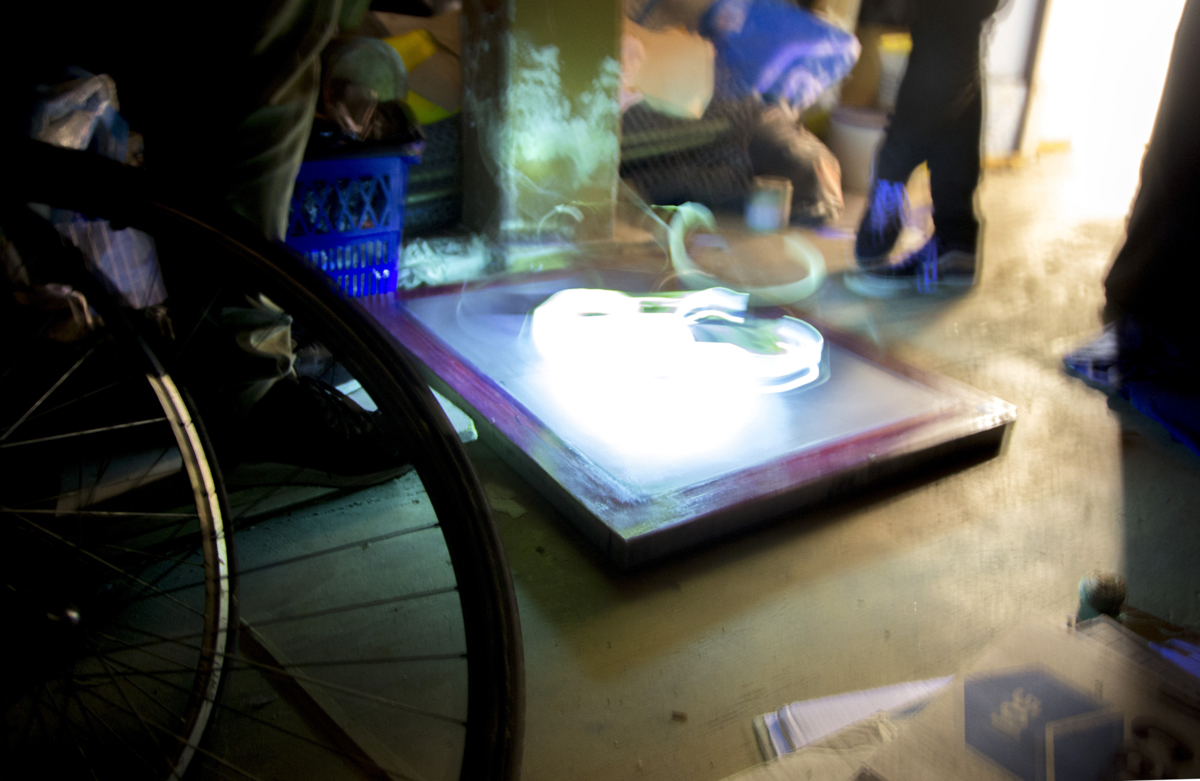
In this first test we slid our little device (now lovingly called ‘The Light Saber’) up and down at a random pace for a total time of 3 minutes.This is the time needed for the used emulsion to harden with this specific type of light.
As a second experiment we wanted to test how much time was needed approximately to have an effect on the emulsion. With every test on the window we would slide up and down, each time one more than the test before, until we treated the entire surface of the screen. This test revealed that a minimum of two ’slides’ was enough to see something of a line.
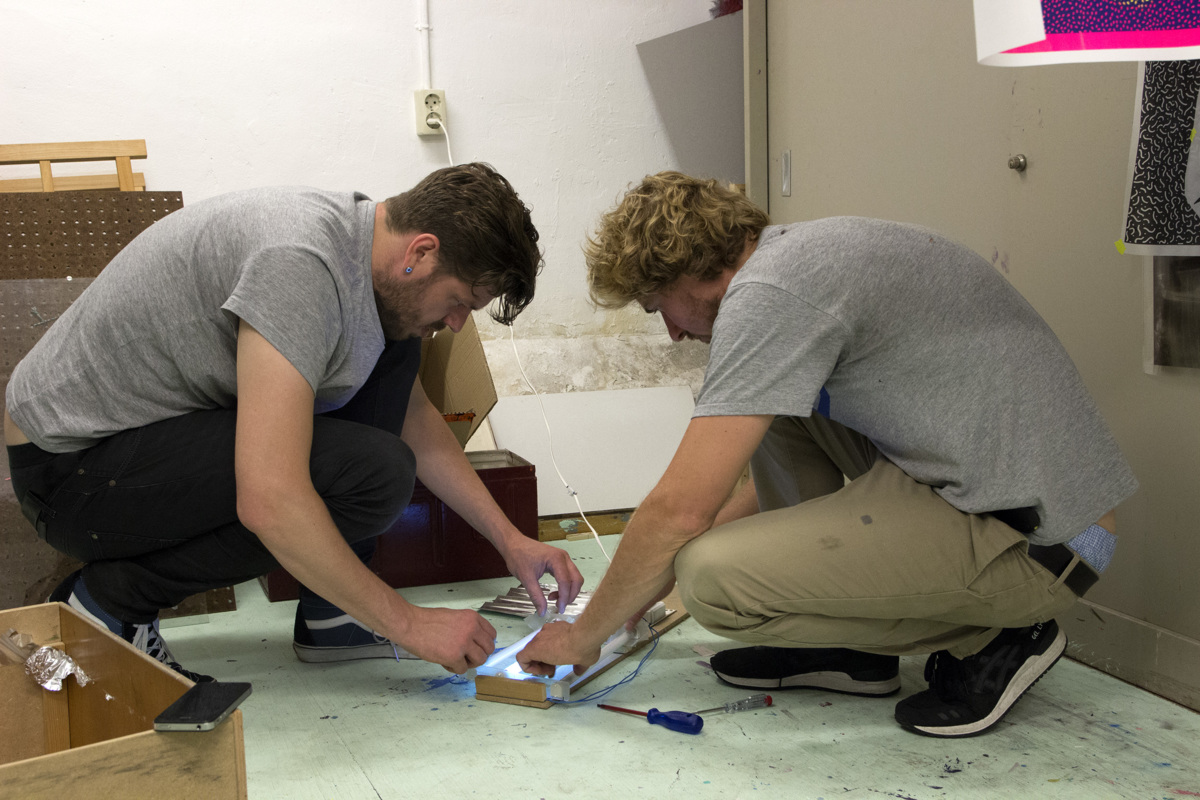
Testing ‘The Light Saber’
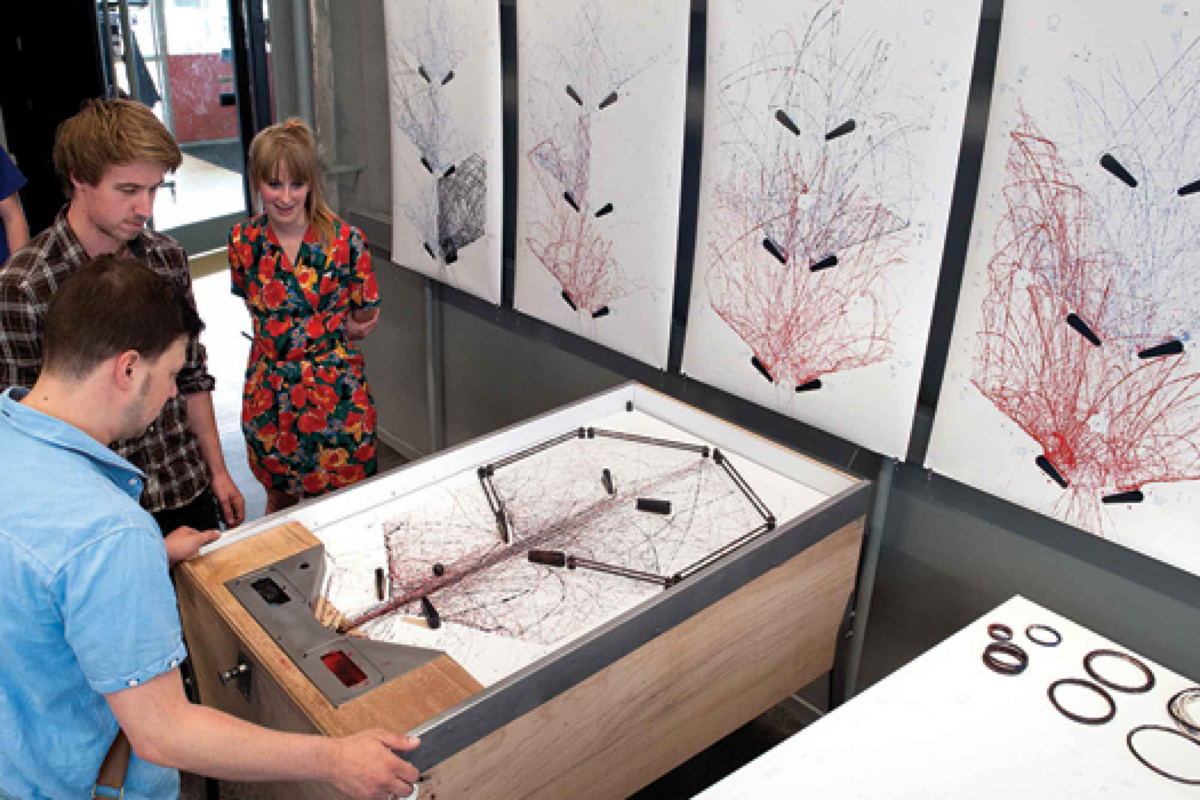
Because of this experiment we were convinced we could make a tool for our light drawings, but it also raised another, maybe even more important question: When we have our set of ‘brushes’, what will we draw with it? We could draw anything with our light brush, but what would be conceptually relevant? It seemed to make sense to let the natural movement of an object determine the drawing. But which movement would be logical and true to the concept, to capture in light, rather than ink or paint?
As a next step we decided to hang our device by a piece of rope from a construction beam in a dark part in Felix’s cellar. We let it dangle above a silkscreen window for some time. The image coming from this test was mostly ambiguous in its form, although there were some small signs that the light didn’t completely block out all texture. It became clear that our testing device needed an update in search for a clearer interplay of lines.
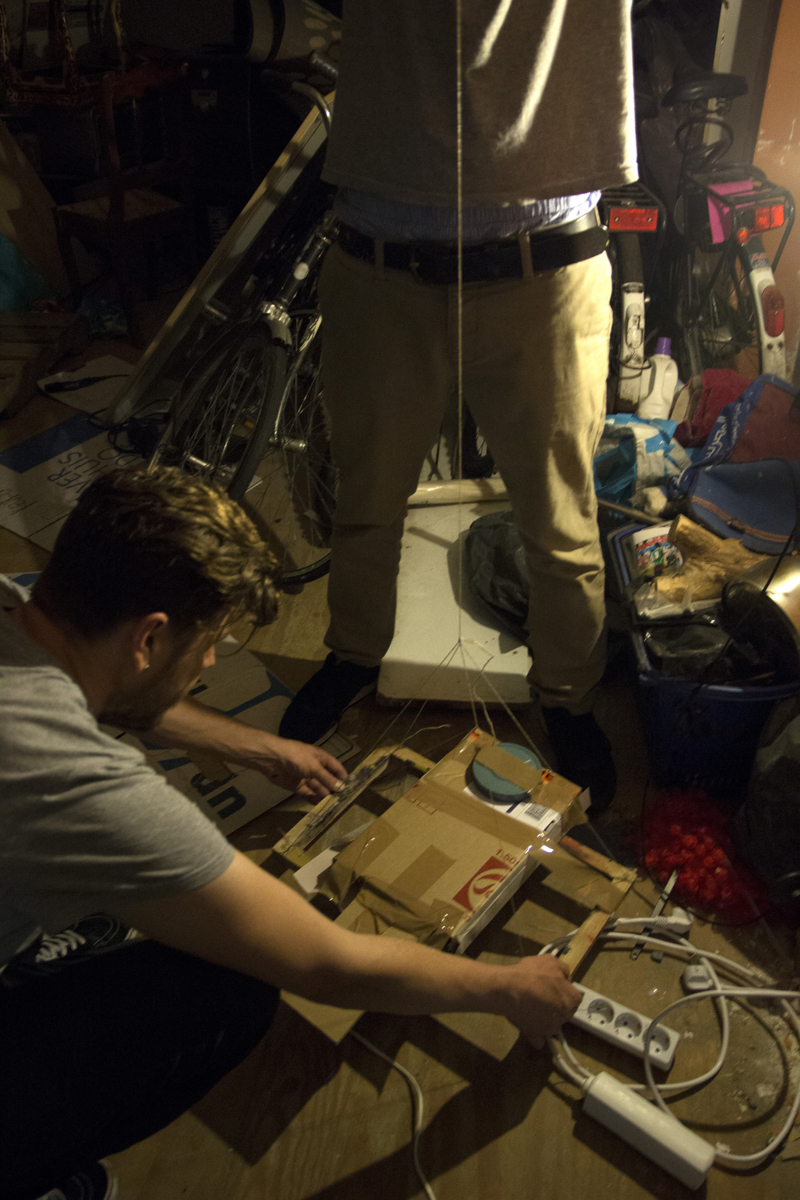
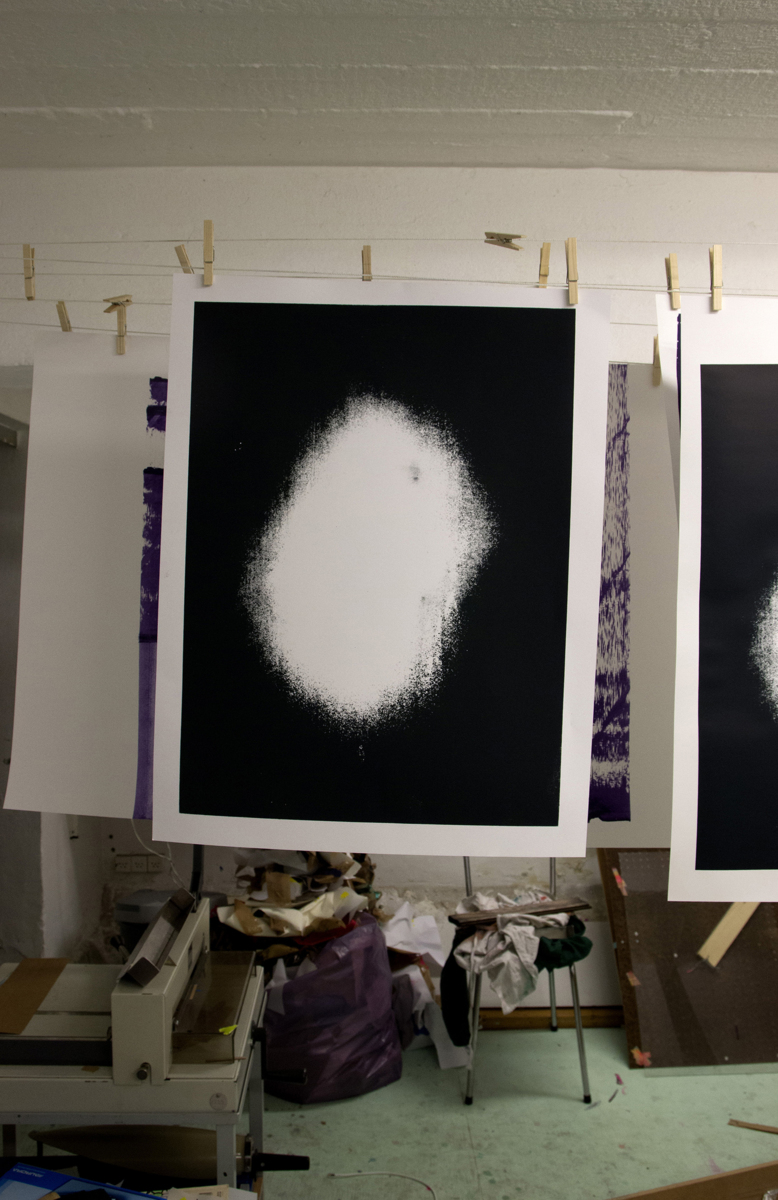
Hanging The Light Saber