
Testing colour
to Aliki van der Kruijs’ windowThe colours for the final prints need to be decided. Should I use for instance the ‘Matisse–blue’ or should I go for a more ‘natural’ and maybe logical colour palette? I liked the cyanotype tests I did in the Sunflecks blogpost, because the colour is a direct result from the process.
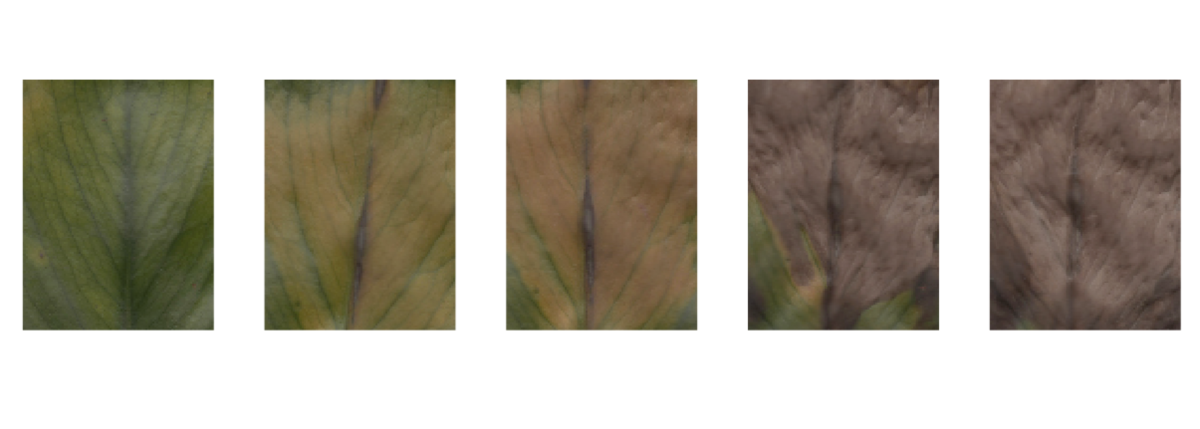
To see what colours the Monstera holds in itself, I scanned a leaf every day to capture the fading process while it was drying out. In the series below you see close–ups from the different phases, with an interval of 3 days between each image.
Using the colour palette above would result in a saturated print. It doesn’t fit with my research of Matisse’s work and my graphic approach of the Monstera leaf.
The weekend before the test printing session I stayed over at my mother’s house. While brushing my teeth in the bathroom at the attic (where the laundry is done as well) I saw a package of Dylon with a Monstera leaf on the packaging. I’ve seen it before, but I hadn’t thought of using it for the One Window project.
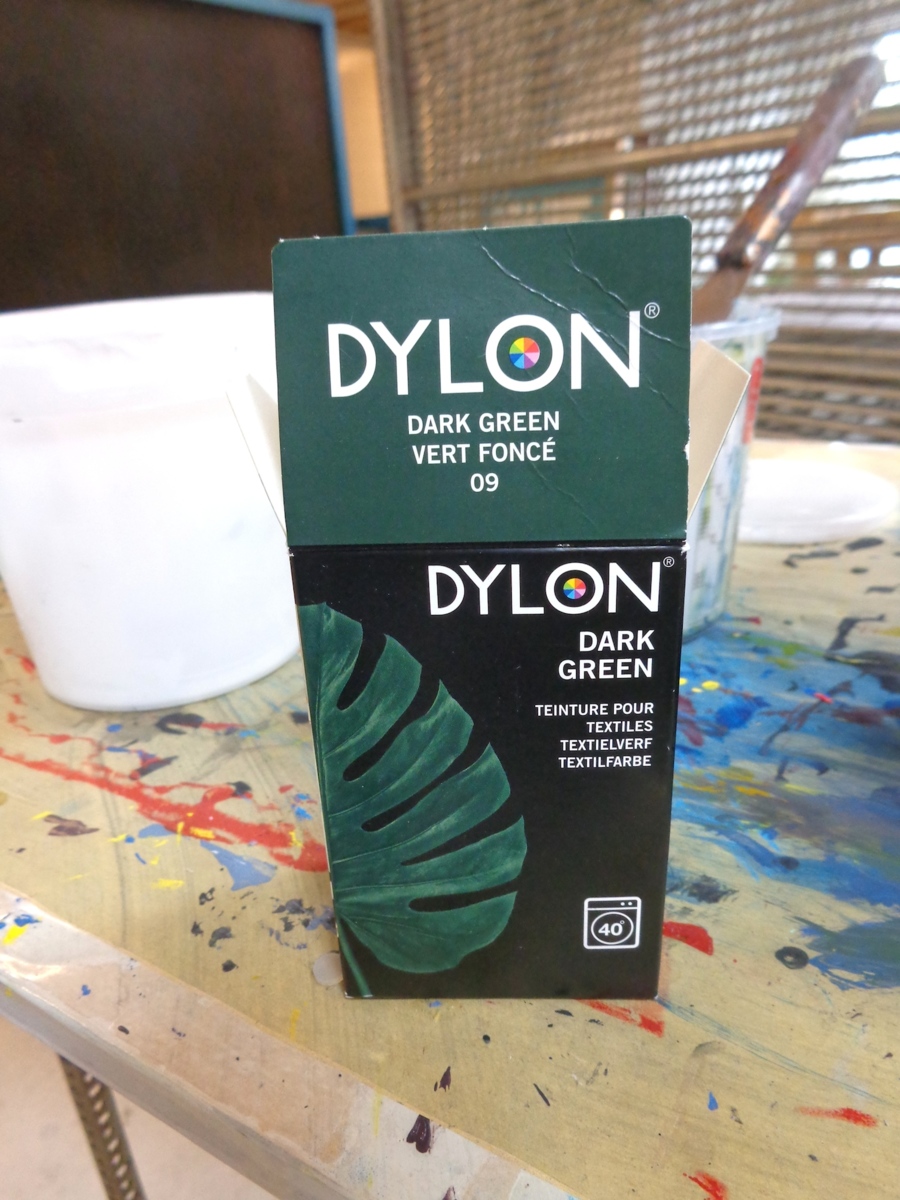
The package on the worktable, ready to test! Will it be possible to actually print with this grained product?
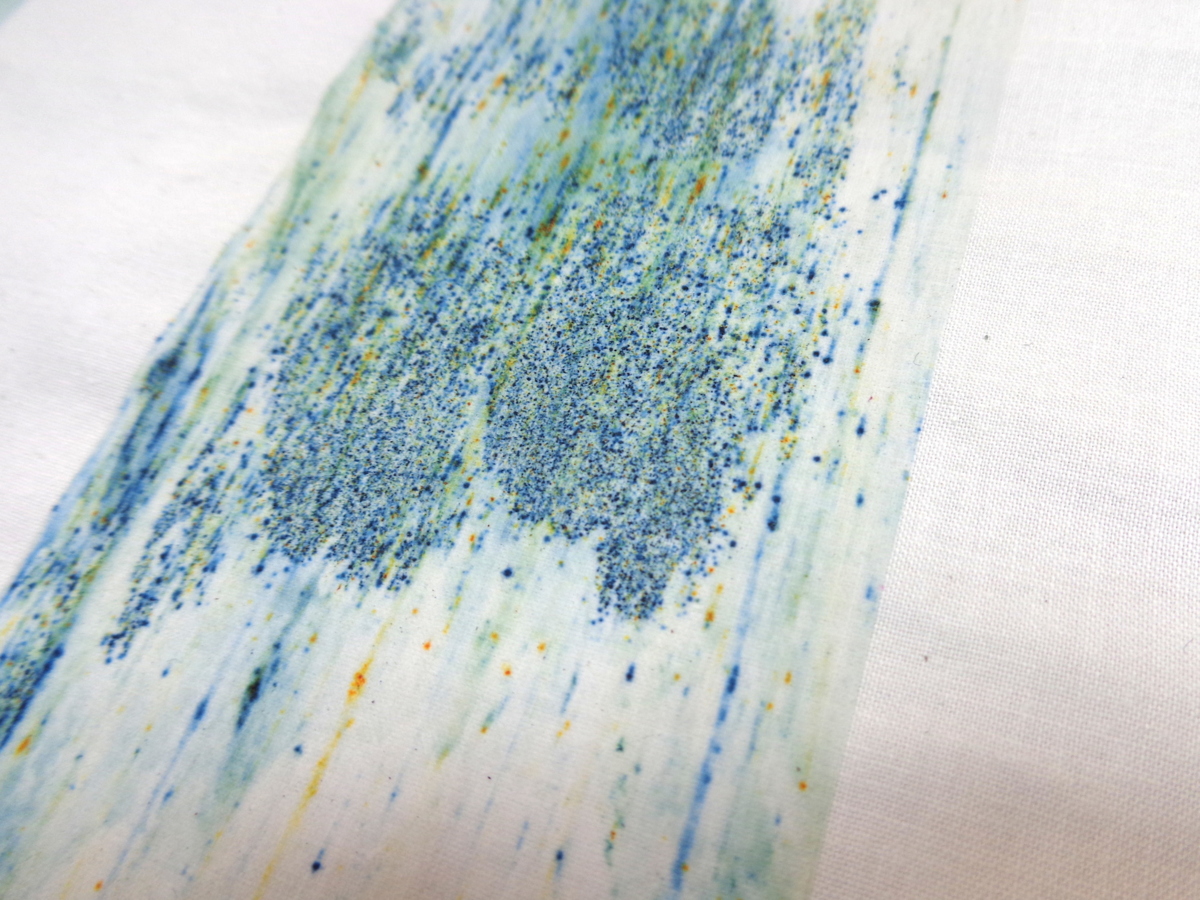
I used a non–coloured base to transfer the Dylon through the screen. After making the first test I saw that it worked. I knew that this is the perfect way to come to a printing method in which the colour arises during the process. Thereby the colour feels natural and I have the possibility to work playfully in the set framework of the One Window assignment!
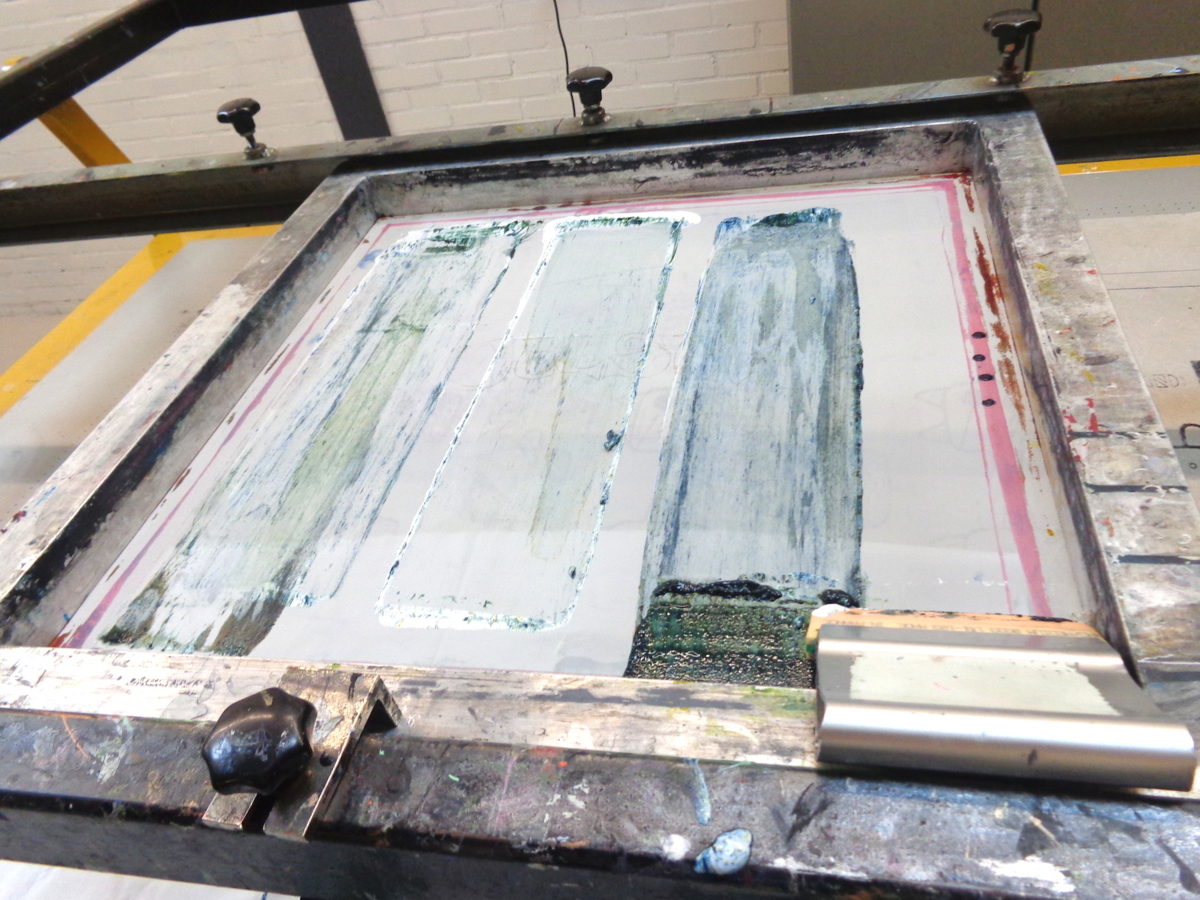
There are multiple ways to work with the combination of Dylon and a base. I will work with two different base products: a thinner and thicker one. Both react different to the Dylon. It will also give a different outcome if the grains are mixed with the paste in advance, or if the grains are scattered upon the base directly on the silkscreen.
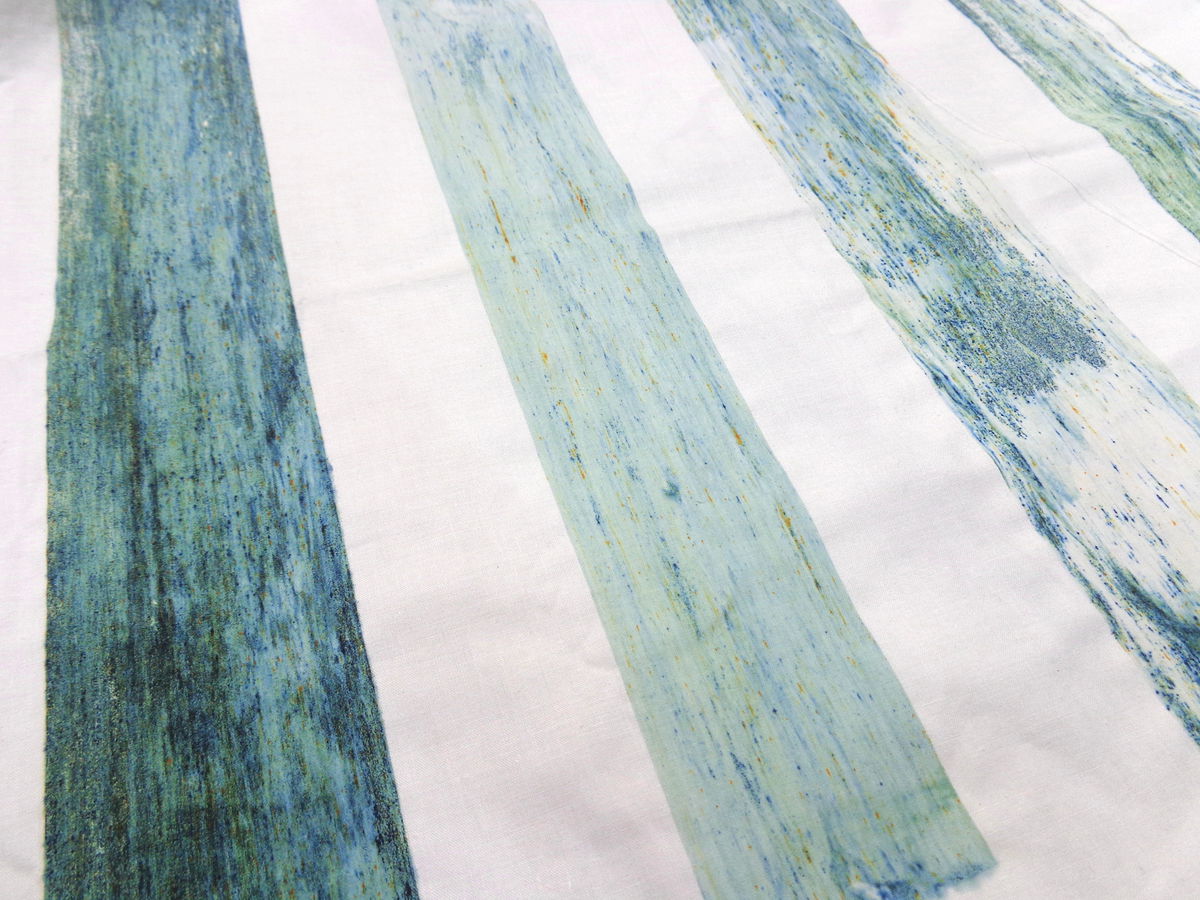

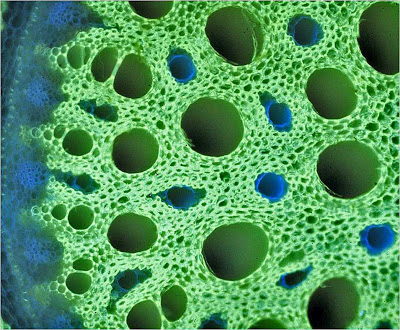
The result of the Dylon prints makes me think of microscopic images. In my research on the Monstera deliciosa I found the image below, which is a section of the stem showing the internal pipework that manages the water from the roots to the leaves. The plant marks with fluorescent dyes; the dead woody cell walls are yellow and the living cellulose walls are blue. Here you can read more about ‘plant plumbing’.
I look forward to continue working!